Introduction
Paratha has always been a favorite in my kitchen—there’s something about those crispy layers and that warm, inviting smell that just feels like home. I’ve tried my hand at countless recipes over the years, and one thing I’ve learned for sure is this: the dough’s texture can really make or break your paratha. This guide is for anyone who loves good food, whether you’re just starting out or want to sharpen your technique. I’ve packed it with easy-to-follow tips, handy tricks, and some fun twists that’ll help you nail flaky, delicious parathas every time. Having tested these recipes myself, I’ve included the kind of insights that’ll help you dodge the usual mistakes and come out with great results.
Getting to Know Paratha
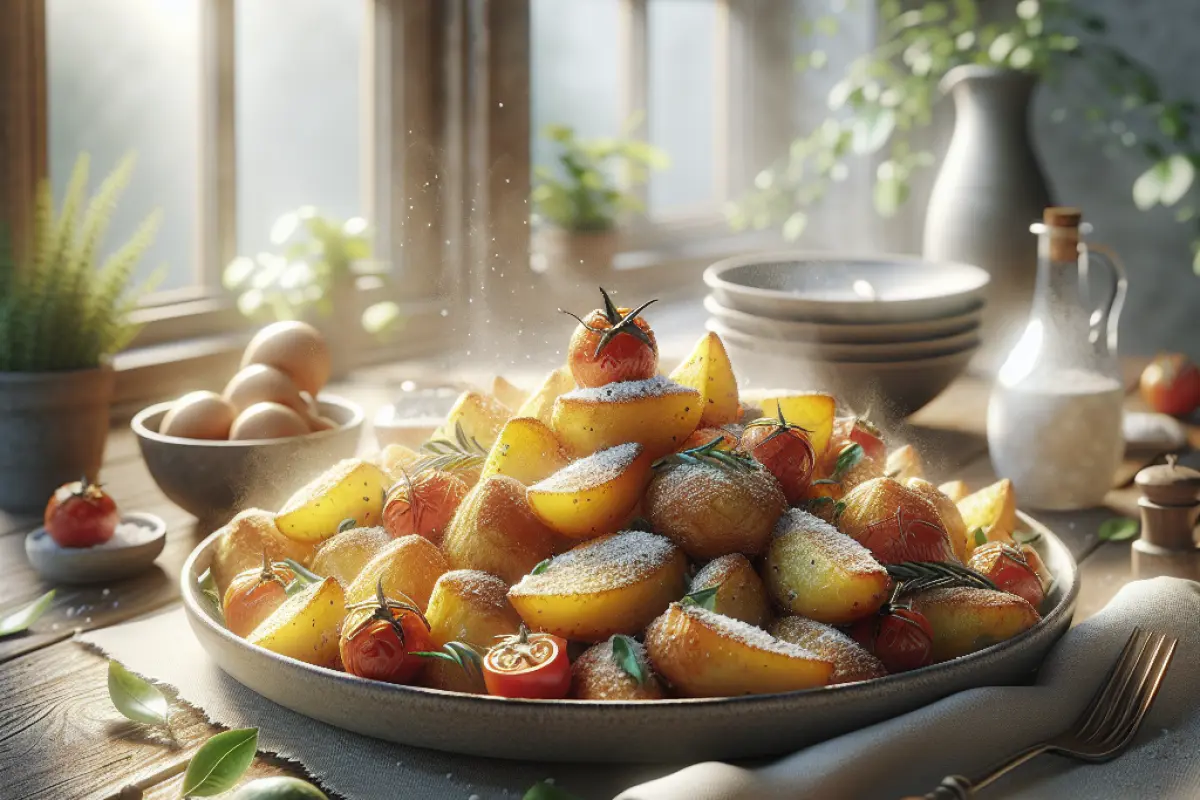
Paratha is a classic Indian flatbread that’s been around for ages, in many different forms across the country. Usually made from whole wheat flour, parathas are loved for their flaky layers and hearty bite. You’ll spot them plain or stuffed, often fried gently with ghee or oil to get that perfect crispness. Whether from a street stall in Delhi or a family kitchen down south, paratha is a go-to meal for breakfast, lunch, or dinner. To me, what makes it so special is how simple ingredients and a few straightforward steps come together to create something comforting and surprisingly versatile. Knowing a bit about where it comes from and how it’s made just adds to the appreciation.
Why Paratha Deserves Your Time
So, why put effort into mastering paratha? It’s not just any flatbread—it’s a welcoming plate for all kinds of flavors, a comfort on busy mornings, and a way to stay connected with a rich cooking tradition. Whether you’re whipping up a quick breakfast or putting together a feast, paratha adds a bit of heartiness and satisfaction to the meal. From my own time in the kitchen, I’ve learned that getting the dough just right and handling the pan properly are skills that carry over into making other breads and pastries, too. Changing small things, like which fat you use or how you fold the dough, can completely change the texture, which is pretty cool. It’s not the easiest recipe out there, but that’s part of its charm—if you like getting your hands dirty and don’t mind a little patience, paratha will definitely pay off.
What You’ll Need to Make Paratha
Paratha starts with simple ingredients you probably already have in your kitchen: whole wheat flour (known locally as atta), water, salt, and fat like ghee or vegetable oil. When it comes to stuffed parathas, the possibilities expand with fillings like potatoes, paneer, radish, leafy greens, and a handful of spices. I’ve noticed that using fresh flour and a good quality ghee—usually around ₹200 for 500 grams—makes all the difference in taste and texture. Here’s a quick rundown of what you’ll need for plain paratha and some popular fillings to get you going:
- Whole wheat flour (atta) – 2 cups (around 250g)
- Water – approximately ¾ cup (180ml), adjust as needed
- Salt – ½ teaspoon or to taste
- Ghee or oil – about 2 to 3 tablespoons for cooking and layering
- Optional stuffing ingredients:
- Potatoes (boiled and mashed) – 2 medium (around 300g)
- Paneer (grated) – 150g
- Spices like cumin seeds (1 teaspoon), red chili powder (½ teaspoon), coriander powder (1 teaspoon)
- Fresh herbs such as chopped coriander leaves (2 tablespoons)
Keeping these ingredients handy means you can whip up a variety of parathas anytime. I usually spend about ₹50-₹70 at the local market on potatoes and spices, so it’s really easy on the wallet—and delicious, too.
How to Make Paratha Step by Step
Let me share how I make parathas—the way I’ve perfected it after quite a few tries. From mixing the dough to getting that perfect golden crust, I’ll walk you through every step.
1. Make the dough: Grab a bowl and mix 2 cups of whole wheat flour with half a teaspoon of salt. Slowly pour in about ¾ cup of water while stirring with your hand or a wooden spoon. You want a dough that’s soft and stretchy but not sticky or crumbly. Knead it for about 8 to 10 minutes until it feels smooth under your hands. Then cover it with a damp cloth and let it rest for at least half an hour—this really helps make rolling it out much easier.
2. Get the stuffing ready (if you’re using it): For potato-stuffed parathas, I boil two medium potatoes until they’re tender—usually around 20 to 25 minutes. Once they’re cool enough, peel and mash them really well. To that, I add a teaspoon of cumin seeds, half a teaspoon of chili powder, a teaspoon of coriander powder, salt to taste, and a couple tablespoons of fresh chopped coriander. Mix everything up, and you’ve got a flavorful filling ready to go.
3. Rolling and stuffing: Start by dividing your dough into small balls, about the size of golf balls—around 50-60 grams each works perfectly. Take one ball and roll it out into a circle about 6 inches across. Spoon 2 to 3 tablespoons of that delicious potato filling right into the center. Next, bring the edges up around the filling, pinching them together to seal it tight. Then, gently press and roll it out again, aiming for a 6 to 7-inch circle. Just be careful here—go easy when rolling so the dough doesn’t tear and your filling stays put.
4. Layering for plain paratha: If you're going for a plain paratha, roll that dough ball into roughly an 8-inch circle. Spread about a tablespoon of ghee or oil evenly over the surface. Now, fold one-third of the dough toward the center, then fold the opposite third over it, making a long rectangle. Fold it one more time like you’re tucking in a letter, then roll it gently again into a 6 to 7-inch circle. This simple fold-and-roll technique is what gives parathas that flaky, layered texture as the fat separates the dough during cooking.
5. Cooking: Heat up your tawa or cast-iron skillet over medium heat for a few minutes until it's nice and hot. Place the rolled-out paratha on the pan and let it cook for about 1 to 2 minutes until you see bubbles forming on the surface. Flip it over and spread half a teaspoon of ghee or oil around the edges. After another minute or two, flip again and press down gently with a spatula to make sure it cooks evenly. You’re looking for golden brown spots and the layers to start separating slightly—that’s when you know you’ve nailed it.
6. Serving: I like to enjoy paratha straight off the pan, still warm, paired with some plain yogurt, tangy pickles, or a fresh chutney. In my kitchen, a cool vegetable raita or a zesty green chutney usually steals the show—they just bring everything together perfectly.
Cooking Tips That Make a Difference
After spending plenty of time cooking, I've learned a few little tricks that really change the game:
- Dough consistency:
Kneading until smooth but not sticky is crucial. I usually measure about 180ml water for 250g flour but add it gradually. If the dough feels dry, sprinkle water, a teaspoon at a time. If sticky, dust lightly with flour but avoid overdoing it. - Resting time:
At least 30 minutes resting relaxes gluten, but I’ve also tried 1 to 2 hours with excellent results. - Rolling technique:
Gentle, even pressure prevents tearing, especially important with stuffing inside. I use semi-floured surfaces to avoid sticking without adding too much flour. - Layering fat:
Switching between ghee and oil changes texture. Ghee creates a richer taste and flakier layers, but cooking with oil is fine and cuts cost. - Cooking temperature:
Medium heat is best. Too hot, and the paratha burns outside but stays raw inside. Too low, and it becomes tough and chewy after repeated flips. - Equipment:
My cast-iron tawa, purchased for around ₹700, adds a uniquely smoky flavor and retains heat well. A non-stick pan works too and uses less fat but lacks the same crust.
Paratha Variations and Swaps
Part of what makes paratha so appealing is how easy it is to tweak. Over the years, I’ve tried several versions and some tasty alternatives that suit different tastes and occasions.
- Stuffed Parathas:
Potato (aloo) paratha remains a favorite, but I’ve cooked paneer (150g grated with spices), methi (fenugreek leaves, 1 cup fresh chopped), gobi (cauliflower, grated), and radish (mooli) parathas. - Flour alternatives:
Blending whole wheat flour with millet (bajra) or gram flour (besan) changes flavor and fiber content. For example, 1.5 cups wheat flour plus 0.5 cups millet flour gives a nuttier taste. However, using millet flour increases difficulty rolling due to lower gluten. - Vegan swaps:
Using vegetable oil or coconut oil instead of ghee makes the dish vegan-friendly. Paneer can be replaced with firm tofu – 150g shredded works well. - Gluten-free options:
Chickpea flour or buckwheat flour can be substituted but expect denser texture and less elasticity. It’s a challenge but worth trying if gluten is a concern.
These variations mean you can enjoy paratha no matter your diet or what you have in the pantry. That said, a few of them do call for a bit of patience and a steady hand in the kitchen.
Tasty Pairings and Serving Tips
Paratha goes great with all sorts of sides, and I like to mix things up depending on the meal I’m having.
- Plain or flavored yogurt or raita (cucumber and mint)
- Pickles (achar), especially spicy mango or lime varieties
- Chutneys: mint, tamarind, coriander
- Curries: chole (chickpea curry), dal (lentil stew), or vegetable korma
- Butter or fresh cream dolloped on warm paratha
One of my favorite ways to enjoy it is a steaming hot aloo paratha with some zesty mint chutney and a dollop of butter slowly melting on top. It’s straightforward but hits the spot whether it’s breakfast or dinner.
Mistakes I've Learned to Avoid
Even after making parathas for years, I’ve definitely stumbled more times than I care to admit. Here are a few pitfalls to watch out for so your parathas turn out just right.
- Incorrect dough hydration:
Too much water makes sticky dough that tears; too little water leads to dry, crumbly dough that’s tough to roll. It takes practice to find the right balance. - Over-rolling stuffed parathas:
Applying too much pressure can cause filling to leak out. Take it easy and roll gently after sealing. - Cooking at high heat:
I once nearly burnt all my parathas in 5 minutes by cooking too hot. Medium heat prevents this and allows the layers to cook fully. - Skipping dough rest:
Resting dulls gluten strength, which helps dough roll easily without snapping back. - Insufficient fat application:
Not applying enough ghee or oil during rolling and cooking results in dry, dense parathas. A little extra fat goes a long way.
How to Store and Prep Your Parathas Ahead of Time
Parathas are perfect for making ahead and freezing. Here’s the simple way I like to prepare a big batch to have on hand whenever hunger strikes.
- Cool cooked parathas completely before stacking; steam makes them soggy.
- Place parchment or wax paper between each paratha when freezing to prevent sticking.
- Reheat on a hot skillet with a teaspoon of ghee or oil to revive crispness; microwave heating tends to make them rubbery.
- Uncooked stuffed dough balls can be prepared ahead and refrigerated for 1-2 days. Roll and cook fresh for best flavor and texture.
If your days are packed and you don’t have time to cook every morning, these tricks will help you keep fresh parathas ready without the hassle.
Adjusting for Diets and Preferences
Parathas are pretty versatile, but you can tweak the recipe depending on your dietary needs.
- Vegan: Replace ghee with oils like sunflower or coconut. Swap paneer stuffing with tofu or vegetable fillings. Avoid dairy-based accompaniments.
- Gluten-free: Using gluten-free flour mixes is possible but expect a different texture. Adding xanthan gum or psyllium husk can improve dough elasticity.
- Low-fat: Use minimal oil or dry cook on a good non-stick pan. However, this reduces flakiness somewhat.
- High-protein: Add chickpea flour (besan) to flour mix or pair with protein-rich sides like dal or yogurt.
- Low-carb: Paratha is naturally carb-heavy. For low-carb, consider vegetable wraps but know it won’t replicate paratha’s texture.
These little adjustments help parathas fit into different diets, though changing the dough can sometimes be a bit tricky.
FAQs
Want to keep your parathas from getting tough? Make sure the dough is soft and has had some time to rest before you roll it out. Don’t over-knead or cook them too long, and try not to use too much flour when rolling—this one’s key!
Can I swap whole wheat flour for all-purpose flour? Absolutely! Using all-purpose flour will give your parathas a softer, more tender bite, but you’ll miss that slightly nutty flavor and hearty texture you get from whole wheat. If you want something closer to the classic taste, stick to whole wheat—your taste buds will thank you.
How can I make my parathas flaky? The secret’s in the layering. Spread a bit of ghee or oil as you fold the dough, then roll it out gently again. Those little layers puff up when cooking, creating that perfect flaky texture that makes every bite a joy.
Can I prepare stuffed parathas ahead of time? Definitely! You can make the stuffed dough balls a day or two before and keep them in the fridge. When you’re ready to eat, just roll them out and cook fresh—that way, they’ll stay soft and taste just right.
When it comes to cooking parathas, a cast iron skillet or a heavy non-stick pan does the job best. They both spread heat evenly, which helps create that perfect golden-brown crust. I’m partial to cast iron myself—it adds a little extra flavor that you just can’t get from other pans.
Can you freeze parathas? Absolutely. Just let them cool completely, then stack them with parchment paper between each one so they don’t stick together. When you're ready, warm them up in a skillet with a touch of ghee or oil—it brings back that fresh-from-the-griddle taste.
Adjusting spice levels in stuffed parathas is easier than you think. Start by making the filling mild, taste it before stuffing, and then add more spices if you want a kick. That way, you’re in control, and you don’t accidentally overpower the flavors.
Conclusion
Making paratha, in all its delicious variations, is a satisfying mix of tradition, skill, and a bit of your own flair. Whether you stick with a simple plain paratha or get adventurous with different fillings, the trick lies in getting your dough just right and knowing how to cook it properly. Once you get the hang of it, you’ll be rewarded with flaky, golden breads that feel like a warm hug. Don’t worry if things don’t turn out perfect at first—every attempt teaches you something new about what works for your taste and style. If you’re someone who prefers straightforward, tried-and-true recipes over fuss and hype, this guide will help you improve with every try. Give it a shot, tweak it as you go, and most importantly, enjoy the whole experience.
If you found this guide helpful, why not subscribe to CraveDiary for more real, no-nonsense recipes and cooking tips? And while you’re at it, try making a stuffed paratha at home this weekend—it’s the best way to taste those layers of flavor yourself. If this kind of cooking excites you, you might also like: How to Make Authentic Indian Flatbreads. For plenty more ideas, don’t miss our Top 5 Stuffed Indian Bread Varieties.
If this topic interests you, you may also find this useful: https://www.cravediary.com/blog/best-protein-smoothie-recipe-for-energy-and-muscle-boost